
How to install LEMP stack in Ubuntu
Complete guide on how to install Nginx, Mysql, and PHP (LEMP Stack) in Ubuntu.
What is LEMP Stack?
LEMP Stack is a set of technologies used to serve a web application. It uses tech stacks like Linux, Nginx, MySql, and PHP.
- Linux: an open-source Operating System Kernel that manages different hardware resources. So it becomes the base for many operating systems and server os. Here we will use Ubuntu, an OS based on Linux Kernel as a host machine. On the top, we will install Nginx, MySql, and PHP
- Nginx: It is a high-performance web server
- MySql: MySql is a popular and stable relational database.
- PHP: It's a programming language that was primarily designed to make dynamic websites.
We can use this tech stack to host PHP web apps on the cloud.
Installing Linux (Ubuntu Server 22.04/ 24.04 Prefer the LTS Version)
We don't need to install Linux/Ubuntu by ourselves, we can get this with a Cloud/VPS server.
* You can check cloud services like AWS, GCP Cloud, Digital Ocean, or Hostinger and choose the best cloud server. While choosing the OS, go for Ubuntu 22.04 or Ubuntu 24.04 LTS version.
It will take some time and give you a public IPv4 address with the Linux os installed on your server.
Login to the Linux VPS using SSH
Now you can use the terminal in Linux and Mac or Putty in Windows to access your cloud server from your local PC.
ssh username@server_ip
Install Nginx in Ubuntu VPS
Use these commands to update and upgrade the server before installing the Nginx web server
Update the system
sudo apt update
Upgrade the system
sudo apt upgrade
Install Nginx
sudo apt install nginx
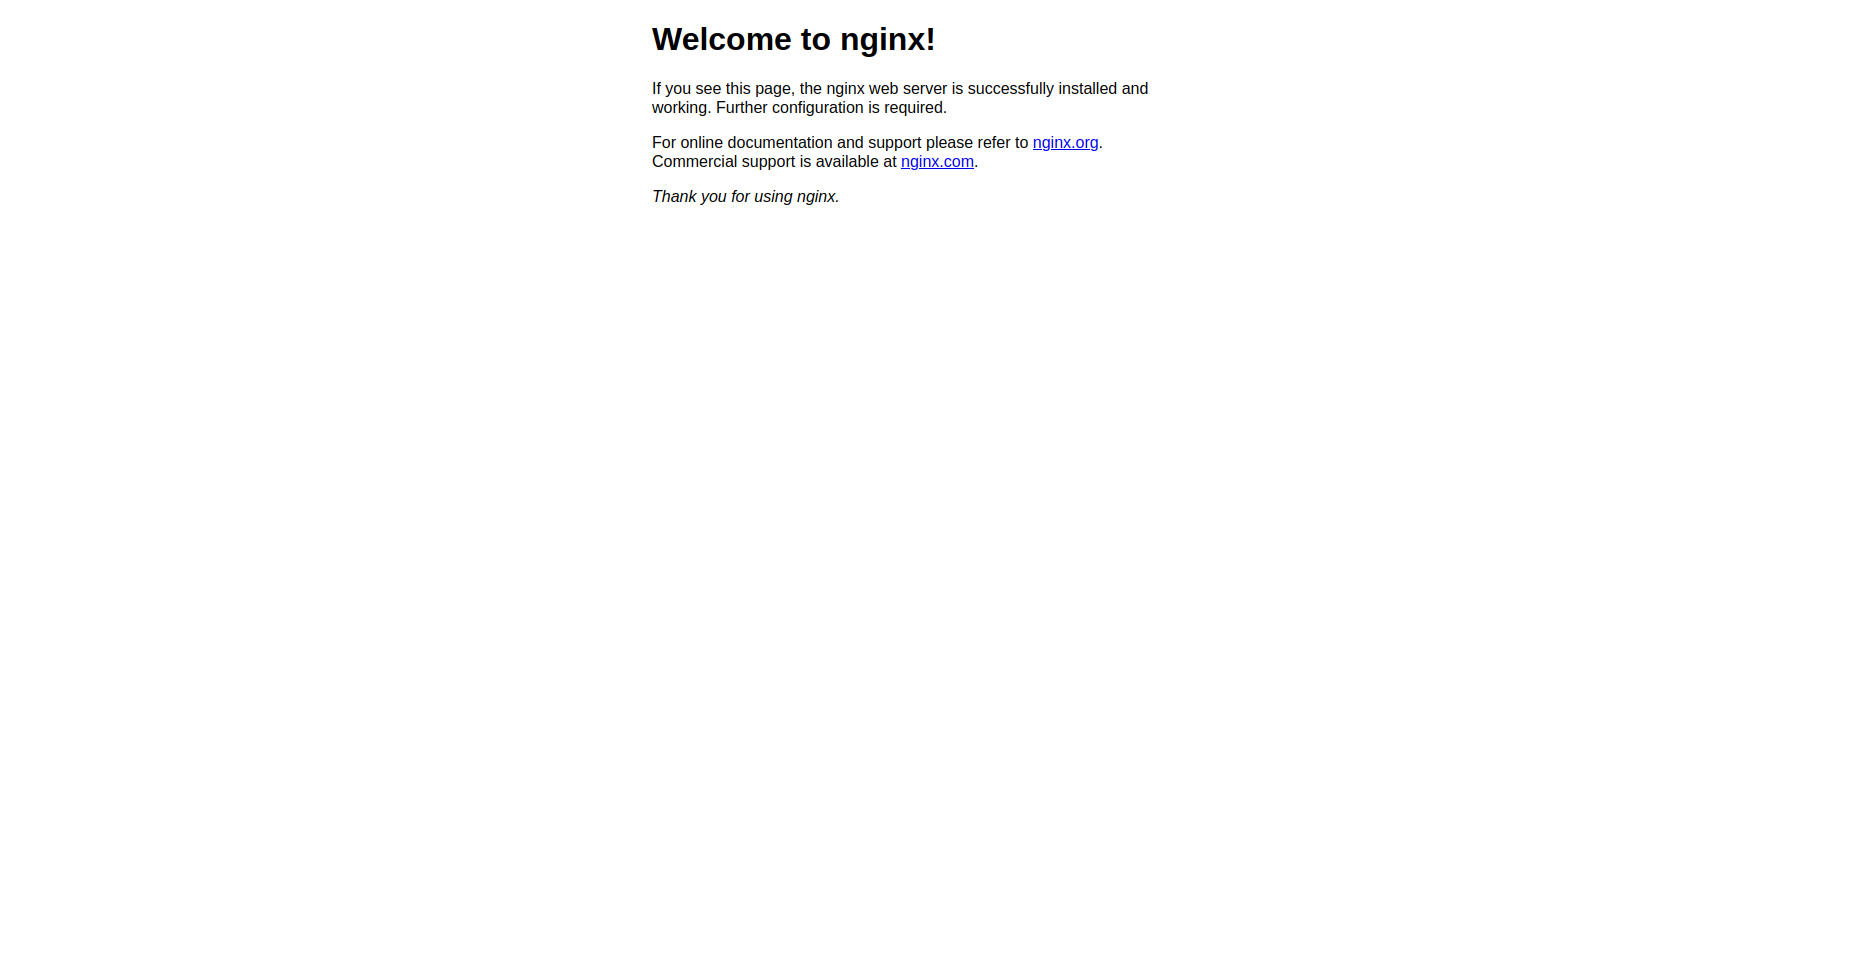
This will install Nginx in the Ubuntu VPS. Now try to open the URL https://<your_server_ip> it will show the Nginx default page, like this
Configure ufw firewall to allow Nginx Web Server
Here we need to configure the ufw firewall, it works as a security layer for incoming and outgoing connections. Nginx servers at port 80 for http and port 443 for https.
Check ufw status
sudo ufw status
Allow OpenSSH and Nginx
sudo ufw allow OpenSSH
sudo ufw allow "Nginx HTTP"
We need to connect to the VPS using port 22, and Nginx HTTP allows ports 80 and 443. Once we enable the ufw then we can only connect to the allowed port.
Enable ufw Firewall
sudo ufw enable
sudo ufw app list
Nginx commands
These are a few Nginx commands
sudo systemctl start nginx
sudo systemctl stop nginx
sudo systemctl restart nginx
sudo systemctl reload nginx
sudo systemctl status nginx
sudo systemctl enable nginx
sudo systemctl disable nginx
sudo nginx -t # everything is ok
sudo tail -f /var/log/nginx/error.log #logs nginx errors
Install MySQL
MySQL is an open-source relational database management system (RDBMS) that uses Structured Query Language (SQL) for accessing and managing databases. Follow these commands to install MySQL on the Ubuntu server.
Update the System
sudo apt update
Install MySQL
sudo apt install mysql-server
Start MySQL Server
sudo systemctl start mysql.service
Access MySQL Console
sudo mysql
Exit from the MySQL Console
exit
Secure the MySQL Database
We have just installed the MySQL database, but need to secure the database root user with a password.
sudo mysql
Set the root user password
ALTER USER 'root'@'localhost' IDENTIFIED WITH mysql_native_password BY 'password'; # replace password with a strong password and then run
Access MySQL database with root user and password
Now if you try to access MySQL with the sudo mysql command it will give you an error, so use this command instead.
sudo mysql -u root -p
Then enter the password and continue
Create a MySQL user and give access to a specific database
Create a MySQL Database
CREATE DATABASE database_name;
List all databases
SHOW DATABASES;Now if you want to create a new user for MySQL use this command.
CREATE USER 'newuser'@'localhost' IDENTIFIED BY 'password';
GRANT ALL PRIVILEGES ON database_name.* TO 'newuser'@'localhost';
FLUSH PRIVILEGES;
Install PHP
PHP is a server-side scripting language designed primarily for web development. It stands for "Hypertext Preprocessor,". PHP can be embedded with HTML to serve dynamic webpages, it connects seamlessly with MySQL to make highly scalable web apps. Install PHP by following this commands
sudo apt install php8.1-fpm php-mysql
Configure Nginx to serve PHP files
sudo nano /etc/nginx/sites-available/default
##
# You should look at the following URL's in order to grasp a solid understanding
# of Nginx configuration files in order to fully unleash the power of Nginx.
# https://www.nginx.com/resources/wiki/start/
# https://www.nginx.com/resources/wiki/start/topics/tutorials/config_pitfalls/
# https://wiki.debian.org/Nginx/DirectoryStructure
#
# In most cases, administrators will remove this file from sites-enabled/ and
# leave it as reference inside of sites-available where it will continue to be
# updated by the nginx packaging team.
#
# This file will automatically load configuration files provided by other
# applications, such as Drupal or Wordpress. These applications will be made
# available underneath a path with that package name, such as /drupal8.
#
# Please see /usr/share/doc/nginx-doc/examples/ for more detailed examples.
##

# Default server configuration
#
server {
	listen 80 default_server;
	listen [::]:80 default_server;

	# SSL configuration
	#
	# listen 443 ssl default_server;
	# listen [::]:443 ssl default_server;
	#
	# Note: You should disable gzip for SSL traffic.
	# See: https://bugs.debian.org/773332
	#
	# Read up on ssl_ciphers to ensure a secure configuration.
	# See: https://bugs.debian.org/765782
	#
	# Self signed certs generated by the ssl-cert package
	# Don't use them in a production server!
	#
	# include snippets/snakeoil.conf;

	root /var/www/html;

	# Add index.php to the list if you are using PHP
	index index.html index.htm index.nginx-debian.html;

	server_name _;

	location / {
		# First attempt to serve request as file, then
		# as directory, then fall back to displaying a 404.
		try_files $uri $uri/ =404;
	}

	# pass PHP scripts to FastCGI server
	#
	#location ~ \.php$ {
	#	include snippets/fastcgi-php.conf;
	#
	#	# With php-fpm (or other unix sockets):
	#	fastcgi_pass unix:/run/php/php7.4-fpm.sock;
	#	# With php-cgi (or other tcp sockets):
	#	fastcgi_pass 127.0.0.1:9000;
	#}

	# deny access to .htaccess files, if Apache's document root
	# concurs with nginx's one
	#
	#location ~ /\.ht {
	#	deny all;
	#}
}


# Virtual Host configuration for example.com
#
# You can move that to a different file under sites-available/ and symlink that
# to sites-enabled/ to enable it.
#
#server {
#	listen 80;
#	listen [::]:80;
#
#	server_name example.com;
#
#	root /var/www/example.com;
#	index index.html;
#
#	location / {
#		try_files $uri $uri/ =404;
#	}
#}
# pass PHP scripts to FastCGI server
#
location ~ \.php$ {
        include snippets/fastcgi-php.conf;
#
#       # With php-fpm (or other unix sockets):
        fastcgi_pass unix:/run/php/php8.1-fpm.sock;
#       # With php-cgi (or other tcp sockets):
#       fastcgi_pass 127.0.0.1:9000;
}

# deny access to .htaccess files, if Apache's document root
# concurs with nginx's one
#
location ~ /\.ht {
        deny all;
}sudo systemctl reload nginx
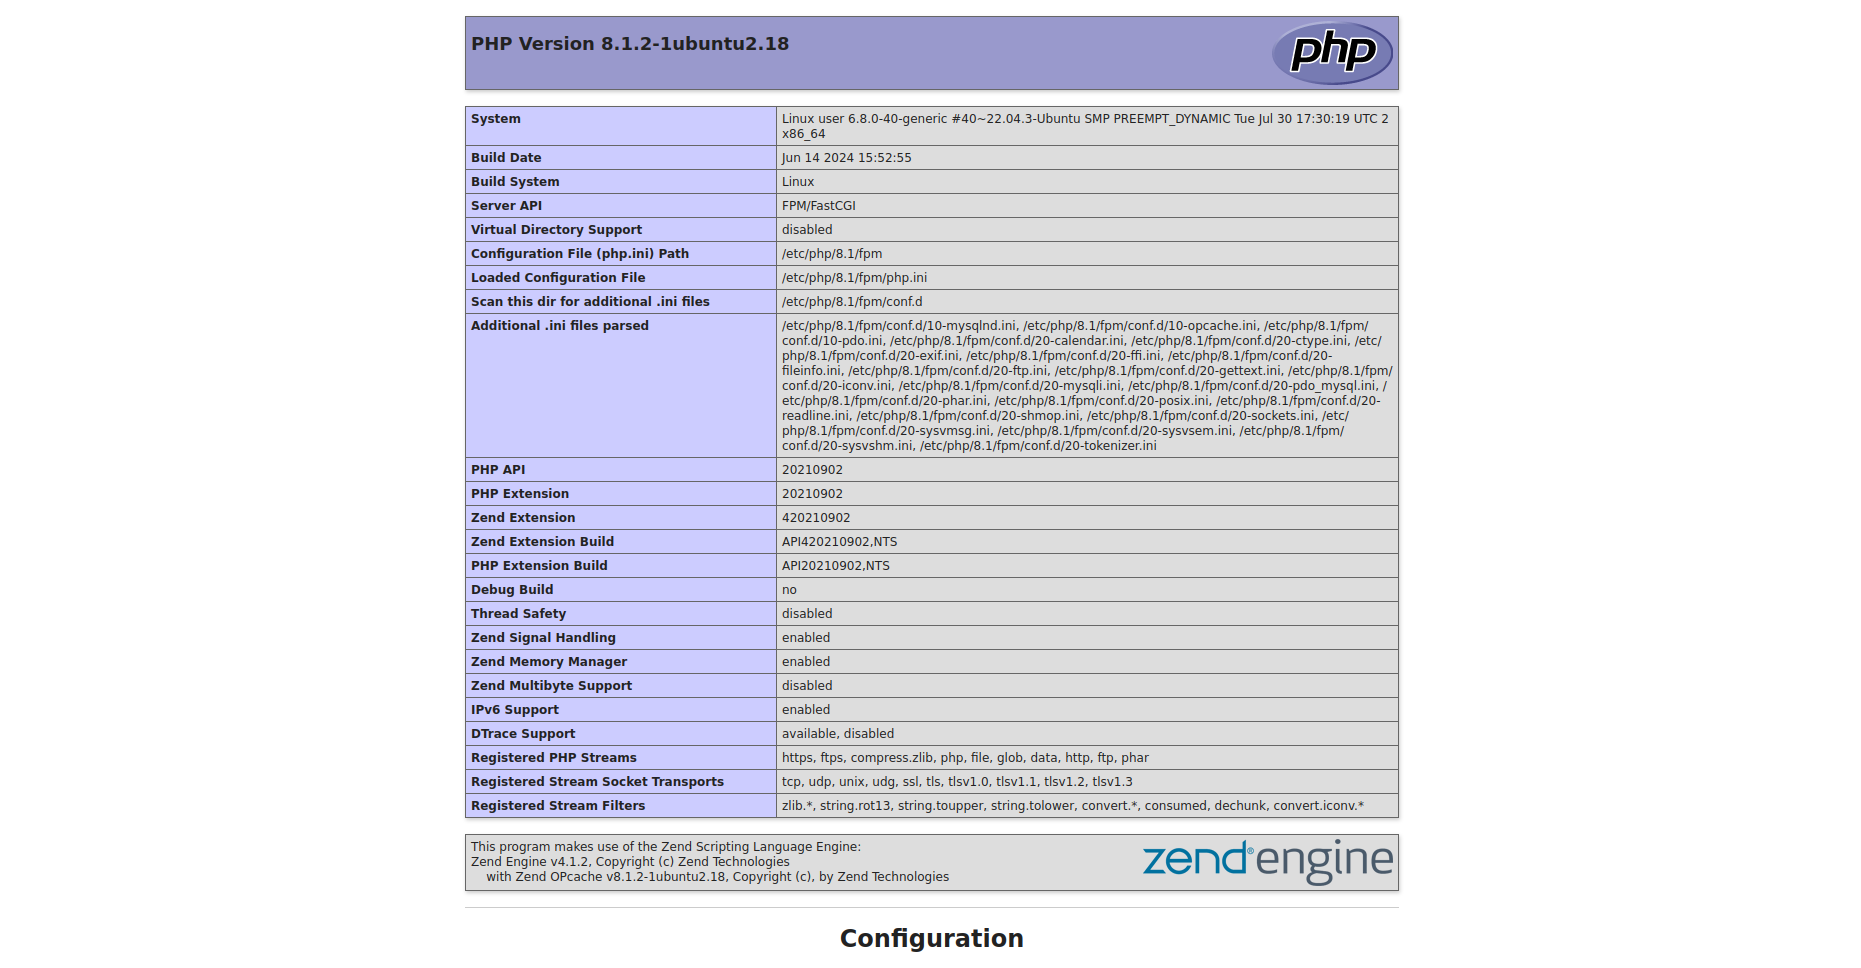
Test PHP on a Web Server
To test the LEMP stack installation, create an index.php page inside the /var/www/html (default public folder for Nginx)
sudo nano /var/www/html/index.php
It will open the nano editor, then add these lines
<?php
phpinfo ();
?>
Now press ctrl + x and then y + enter to exit the nano editor and try to open the URL https://<your_server_ip> it will show the PHP info page like this
That's it the LEMP stack is installed ;)